Beginner Tips for Composting at Home: Easy Steps to Get Started
Composting is a fantastic way to reduce waste, enrich your garden soil, and contribute to a healthier planet. If you’re new to composting, getting started might seem a bit overwhelming. But don’t worry! With a few easy tips and some basic knowledge, you can begin composting at home and enjoy all its benefits. This guide will walk you through beginner-friendly steps, common mistakes, and practical ideas to help you compost successfully.
What is Composting?
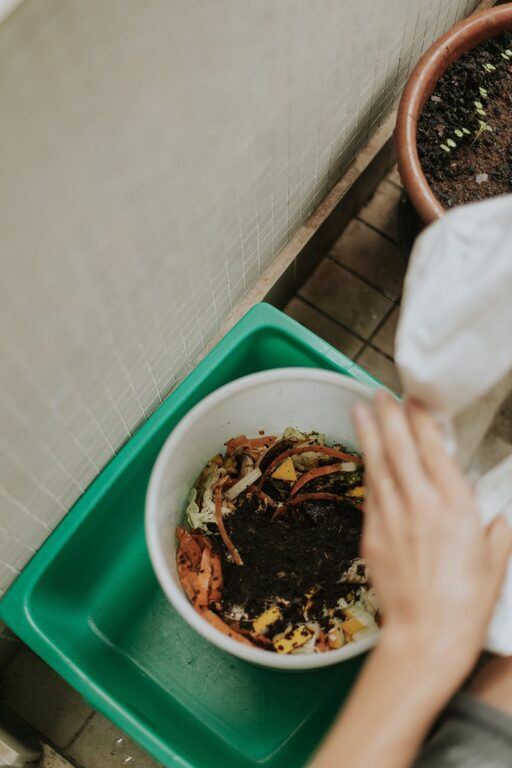
Composting is the natural process of recycling organic materials like food scraps and yard waste into a rich soil amendment known as compost. This dark, crumbly material is full of nutrients that help plants grow strong and healthy. Instead of throwing away your kitchen scraps and garden clippings, you can compost them to reduce landfill waste and nurture your garden naturally.
Why Compost at Home?
– Reduce waste: Composting cuts down on trash going to landfills.
– Improve soil: Adds nutrients and improves soil structure.
– Save money: Less need for chemical fertilizers.
– Help the environment: Composting lowers greenhouse gas emissions.
Getting Started with Composting
Choose the Right Composting Method
There are several ways to compost, depending on your space and needs:
– Compost Bin: A closed container ideal for keeping pests away and retaining heat.
– Compost Pile: An open heap, perfect for large gardens with lots of space.
– Worm Composting (Vermicomposting): Using worms to break down organic matter, great for small spaces and indoor use.
– Tumbler Composters: Rotating bins that speed up the composting process.
Pick the method that suits your lifestyle and available space.
Find a Good Location
Place your compost bin or pile in a dry, shaded spot near a water source. Good airflow and moderate moisture help microbes do their job.
What to Compost: What to Add and What to Avoid
Browns and Greens: The Balance
Composting works best when you mix “green” and “brown” materials:
– Greens (Nitrogen-rich): Fruit and vegetable scraps, coffee grounds, fresh grass clippings, tea bags
– Browns (Carbon-rich): Dry leaves, straw, shredded newspaper, cardboard, sawdust
Aim for roughly 3 parts browns to 1 part greens. Too many greens make it smelly; too many browns slow down decomposition.
Avoid Adding These
– Meat, dairy, and oily foods (can attract pests and cause odors)
– Diseased plants or invasive weeds (can spread problems)
– Pet waste (may contain harmful bacteria)
– Treated wood or charcoal ash
How to Maintain Your Compost
Keep it Moist and Aerated
Your compost should be as damp as a wrung-out sponge. Too dry, and microbes won’t thrive. Too wet, and it may smell bad. Water it if it dries out and turn or mix the pile every 1-2 weeks to add oxygen, which speeds up decomposition.
Monitor Temperature
A hot compost pile (between 130°F and 160°F) breaks down materials faster and kills pathogens. You can check temperature with a compost thermometer. If it cools down, turning the pile can help revive the heat.
Troubleshooting Common Problems
– Smelly Compost: Usually means too much green material or water. Add browns and turn the pile to aerate.
– Pile Not Heating Up: May be too small or dry. Add greens and water; consider combining smaller piles.
– Pests: Use a closed bin or cover food scraps with browns. Avoid meat or oily foods.
Harvesting Your Compost
Depending on conditions, compost can be ready in 3 to 6 months. Finished compost looks dark, crumbly, and earthy. Use it to:
– Mix into garden beds to improve soil
– Top-dress your lawn
– Feed potted plants
Tips for Success
– Chop or shred materials to speed breakdown.
– Keep a kitchen scrap container handy.
– Experiment and learn what works best in your climate.
– Be patient—composting is natural and takes time.
Final Thoughts
Starting composting at home is a rewarding project that benefits your garden and the environment. By following these beginner tips, you’ll be on your way to creating your own nutrient-rich compost with ease. Happy composting!